What to Expect on Stairlift Installation Day (2026)
The truck pulls up at 9:12 AM. By 12:30 PM you are riding your new stairlift, the crew is gone, and the only physical trace of the morning is a set of six lag bolts threaded into the edge of your stair treads. Here is what happens minute by minute in between — the prep nobody explains, the tools we actually bring, the parts we actually touch, and the long list of things in your house we never go near.
Before install day — the prep nobody explains
"The install is the easy part. All the real work happens at your free assessment — by the time the truck pulls up, I already know every tread dimension, every angle, every fastener location. Your job on install day is to sit in the chair and tell me if it's comfortable."
Luis Ramirez, Lead installer, 18+ years
By the time the truck is on your street, the hard part is already done. Your free in-home assessment — the one we did 1 to 3 weeks earlier — already produced a laser measurement of your staircase, a rail drawing, a serial number on a specific motor unit, and a written install schedule with a date, a two-hour arrival window, and the name of the lead technician. None of that is guesswork. We are not "figuring it out" on install day.
Three days before the install you will get a reminder call or text confirming the arrival window, the model being installed, and the final price on the work order. If anything has shifted at your end — a family member visiting, a hospital appointment, a contractor working on the house — that is the call to tell us.
What you actually need to do the night before
- Clear the stair itself. Roll up any runner rug. Remove decorative items from the banister. Treads must be bare so the laser measurement re-confirms and the rail sits flat.
- Leave a path from the door to the stair. Rail sections are 5 to 6 feet long and need to swing through your front hall without clipping a mirror.
- Put the dog or cat somewhere else. A curious dog underfoot on a staircase with loose hardware is the one genuine safety risk of install day. Back bedroom, closed door, water bowl.
- Leave the staircase lights on. Every photo the crew takes for the service file shows better work when the stair is lit.
What you do NOT need to do
- Move furniture — nothing in any other room gets touched
- Schedule an electrician — the stairlift plugs into an existing 120V outlet
- Pull a permit — 99% of US installs require no permit
- Leave the house — you should be home for the walk-through and training ride
Minute-by-minute — a typical straight rail install
The timeline below is not an average or a marketing schedule. It is what a 14-foot straight rail install on a 13-tread interior staircase looks like on a Wednesday morning with two technicians, a Bruno Elite SRE-2010, and a homeowner who is home and alert.

9:00 AM — The crew arrives
Two technicians in a plain white cargo van. The van holds pre-staged rail sections, a motor assembly, a seat crate, a battery pack, a cordless impact driver, a laser level, a torque wrench, stainless lag bolts, splice plates, blue tape, a shop vac, moving blankets, and a vacuum.
9:03 AM — The lead tech rings the bell
Introduces himself and his co-installer by first name — and takes off his shoes at the threshold or pulls blue bootie covers over them. Your floors do not get tracked on.
9:05 AM — Walk-through
The lead tech walks the staircase with you, reads the work order out loud, confirms the rail path and mounting side, points out the outlet the charger will use, and answers last questions. This is the moment to request changes — ten minutes later we cannot.
9:12 AM — Unloading
Five or six rail sections come off the van wrapped in foam, followed by the motor/drive unit, the seat assembly, the battery pack (pre-charged and tested), the remote pair, and the tool kit. Everything staged on moving blankets, not on your floor directly.
9:25 AM — Laser re-measurement
Before a single hole gets drilled, the lead tech shoots the stair with a Leica Disto and confirms the measurement against the quote. In 95% of cases it matches to the sixteenth of an inch. If it does not, we stop and recalculate. We do not improvise.
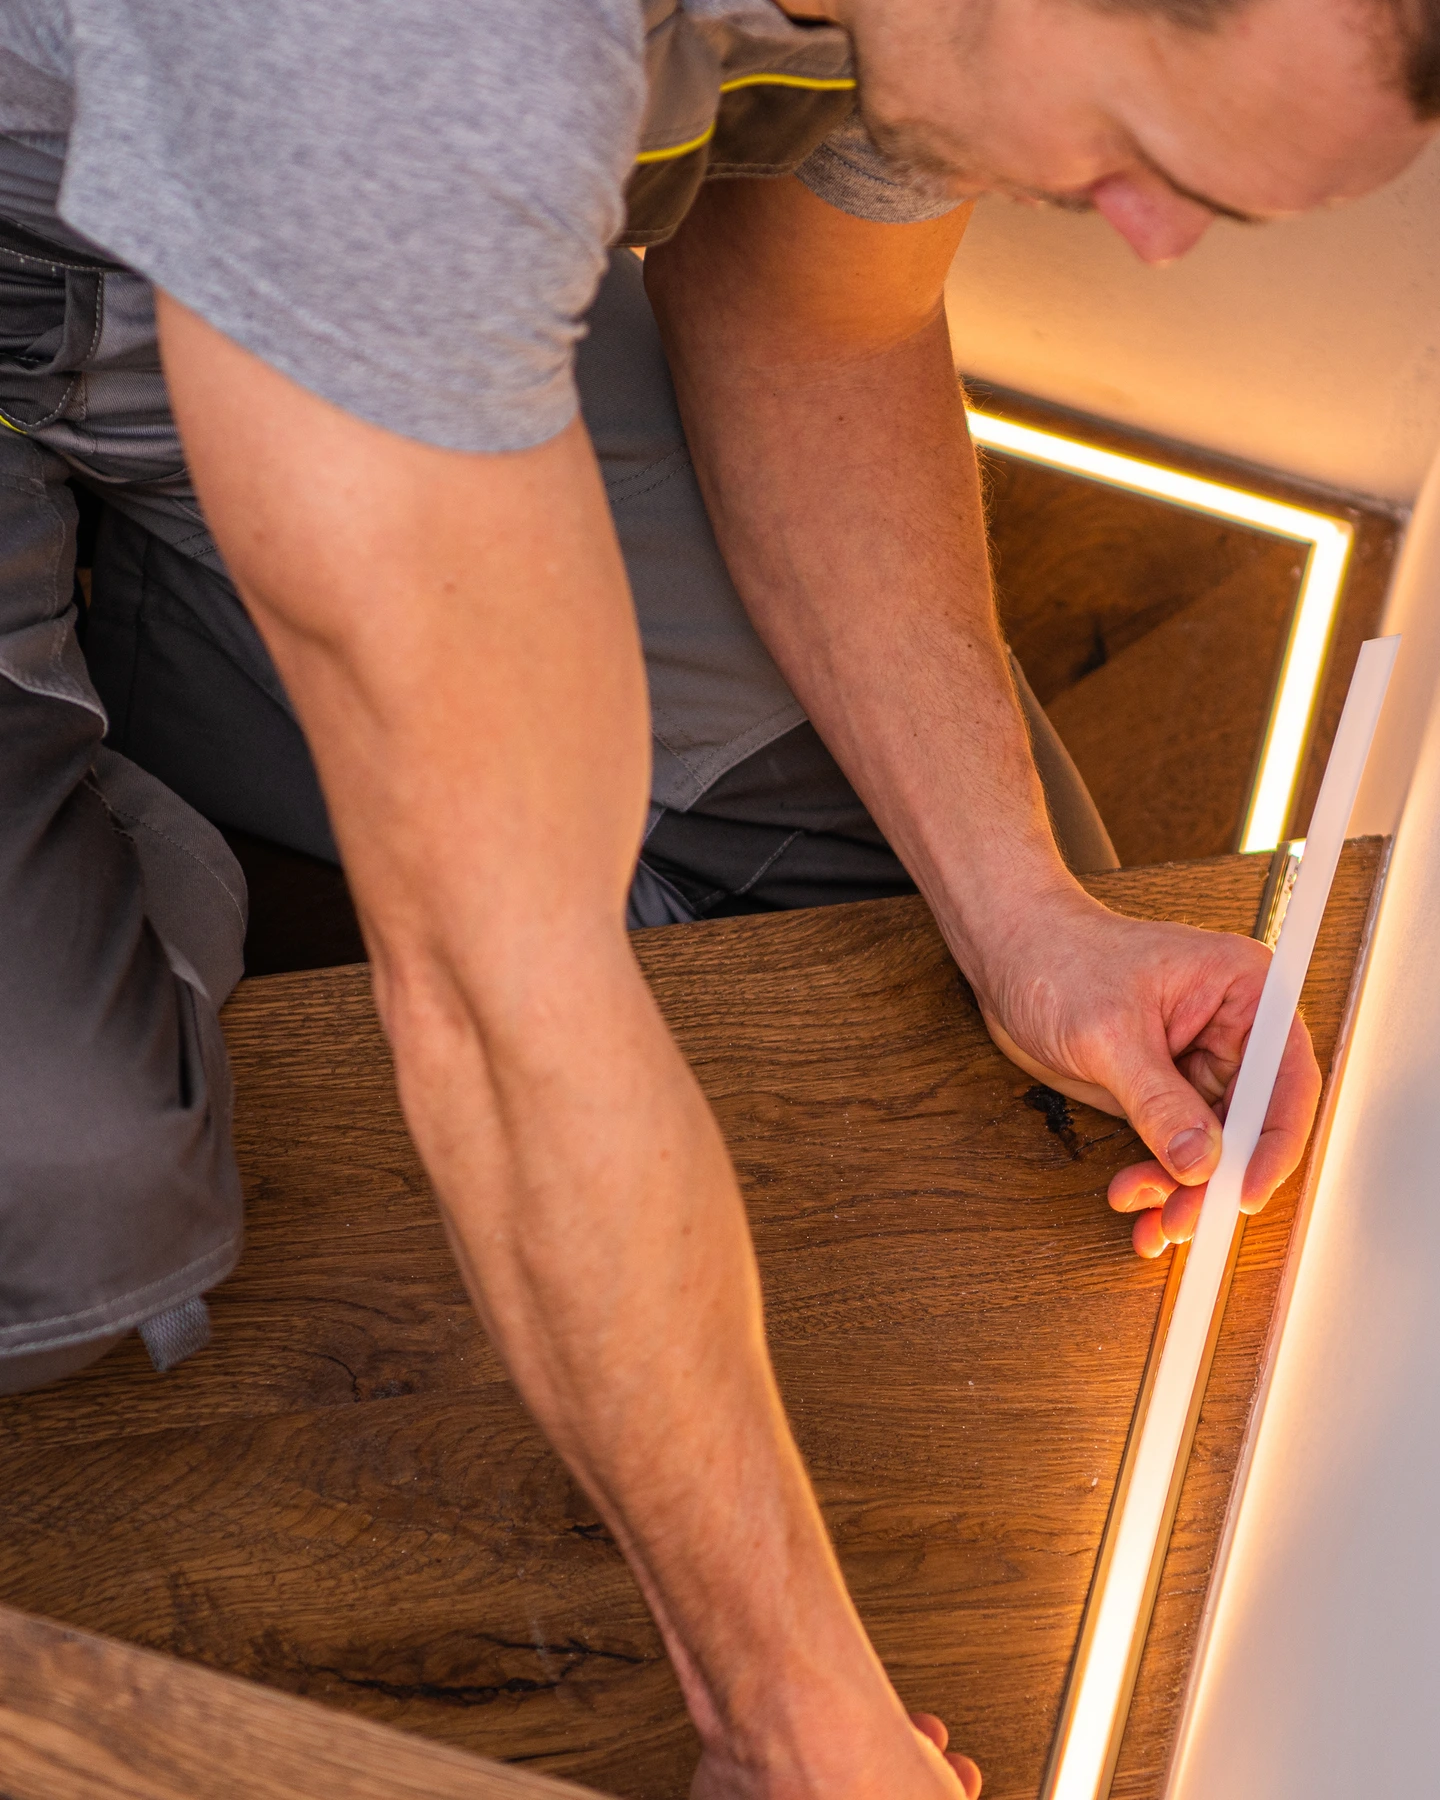
9:35 AM — Rail section #1 positioned
Leveled across its length with a 4-foot bubble level plus the laser, then bolted with 4-inch stainless lag bolts into the solid wood of the tread. Two bolts per section foot, torqued with the impact driver and verified with a hand torque wrench at ~12 ft-lb. No wall anchors, no drywall, no banister.
9:50 AM — Rail sections #2 through #6 joined
Steel splice plates and through-bolts. Each seam gets hand-filed flush so the drive pinion rides silently over the joint — this is the single step that separates a good install from a noisy install.
10:15 AM — Motor and drive unit installed
Lifted onto the bottom of the rail, engaged to the rack gear, and secured. The motor weighs about 55 lb — a two-person lift.
10:25 AM — Power test
The drive unit runs empty up and down the full length of the rail, no seat attached. The tech listens for any bind, any tick, any uneven draw.
10:40 AM — Seat assembly
Seat, armrests, and footrest bolt onto the drive unit with six through-bolts. The tech tests the seat fold, the swivel detent at the top landing, and the armrest fold.
10:55 AM — Battery pack installed
Installed into the motor housing. Voltage checked with a multimeter. Charger light confirmed at both top and bottom charging points.
11:05 AM — Safety testing (most important 15 minutes)
Full sensor list: seat-present sensor, footrest obstacle sensor, armrest obstacle sensor, seat-belt sensor, slow-start ramp, emergency stop button, and end-of-travel limits. Every sensor must pass before the rider boards.
11:20 AM — Your first ride
The tech walks you through boarding, buckling the optional seatbelt, pressing and holding the armrest toggle (it must be held continuously — a safety feature), and riding up. You will do this three or four times until it feels routine. About 10-15 minutes for a first-time rider to feel confident.
11:35 AM — Remote pairing
Two wireless call remotes paired, tested from the far end of the hall, and labeled. Second training pass on calling the lift, fold-back seat, and remote battery replacement (coin cells, last about a year).
11:50 AM — Cleanup
Moving blankets come up, packaging hauled to the van, stair treads vacuumed, banister wiped. When the crew leaves, your stair is cleaner than when they arrived.
11:58 AM — Paperwork
Warranty packet, laminated quick-start card, 24/7 service phone number sticker on the seat, unit serial number, and reminder that batteries get replaced at year 4 or 5.
12:02 PM — Handshake
The crew walks out, the van pulls away, and the only sound in the house is the light hum of the charger indicator.
Total on-site time for a 14-foot straight indoor rail with two technicians: about 3 hours. Shorter rails (8 or 10 feet) run closer to 2 hours. Longer rails (16+ treads) run closer to 4 hours. None require a second day.
What the install does NOT touch
| What gets touched | What NEVER gets touched |
|---|---|
| Your stair treads (4-6 lag bolts total) | Your wall — not one drywall screw |
| An existing wall outlet (for the charger) | Your banister — rail is self-supporting |
| The rail path (laser-confirmed before drilling) | Your floor, ceiling, joists |
| Your electrical panel (unless new circuit needed) | |
| Your historic hardwood | |
| Your WiFi or smart home — stairlifts are deliberately offline |
Every homeowner who calls us has the same underlying worry: is this going to mess up my house? The answer is no. A properly installed stairlift touches exactly one thing — the edge of your stair treads — and nothing else.
Your wall
Not one screw goes into drywall, plaster, lath, or any wall surface. The rail is entirely self-supporting because it bolts into the stair treads, not the wall. If an installer is drilling anchors into your plaster, they are installing the rail wrong.
Your banister and handrail
We do not remove, cut, modify, or touch your banister. Your existing handrail stays fully intact and usable by anyone walking the stair next to the lift user.
Your historic hardwood, tile, marble, or stone treads
The rail mounts via 4- to 6-inch stainless lag bolts that go into the edge of each tread, into the structural wood beneath any decorative surface. The holes are pilot-drilled slightly undersize, the bolts thread cleanly. When the lift is eventually removed, the holes fill with color-matched wood filler or stone epoxy, and a finish carpenter can restore the treads to factory-new appearance in about two hours. We have removed lifts from homes built in the 1880s and the stair treads were indistinguishable from untouched.
The short version: a stairlift is a guest, not a renovation. When it leaves, the house does not look different.
Curved rail installs — a different day
A curved rail install looks like the straight rail timeline stretched longer and made more careful. On-site time runs 4 to 8 hours depending on geometry, landings, and bends. The real difference is what happens before the install day.
The factory fabrication window
Every curved rail is custom-fabricated for your specific staircase. After your assessment, we send a full photo survey or laser scan file to the factory. They build a steel rail matching your exact geometry and ship it crated.
| Model | Factory lead time |
|---|---|
| Bruno Elite CRE-2110 | 10-14 business days |
| Handicare 2000 | 8-12 business days |
| Stannah Siena 260 | 14-21 business days (UK manufacture) |
What is different on install day
- Heavier rail: 3-6 pre-formed sections, each 40-90 lb. Two-person lift minimum.
- More alignment points: Each bend joint aligned within 1/32 inch so the drive pinion rides smoothly. Checked twice — once at dry-fit, once after torquing.
- Floor support on landings: Additional bracket threaded into the landing floor structure (never drywall).
- Longer swivel setup: Curved rails often have two or three park positions, each with a swivel stop programmed and tested.
On-site time: 4 hours for a simple single-turn, 6 hours for a dual-turn, 8 hours for multi-landing with 3+ bends. All one day.
Outdoor rail installs — what is different
Outdoor installs follow the indoor timeline with four key differences:
- Masonry anchors: Concrete gets expansion anchors; stone gets epoxy anchors; composite decking gets through-bolts with backing plates.
- Extra sealant: Every anchor hole gets polyurethane sealant before the bolt goes in. Coastal installs use marine-grade sealant rated for salt exposure.
- Weather hood: Snap-on cover over the motor housing and parked seat. Same powder-coated finish as the rail.
- Charger moved indoors when possible: Charger cable routed through a weather-sealed pass-through into the adjacent garage or closet.
On-site time: 3 to 4.5 hours for a straight outdoor install — about 30 minutes longer than the indoor equivalent.
Historic home installs — extra care
We install stairlifts in homes ranging from 3-year-old new-builds to homes on the National Register of Historic Places. The historic ones get a different protocol at every stage.
- Pre-install review: Tread wood species, original millwork, fastener path documented in photos before we touch anything.
- Fastener paths avoid millwork: Rail line chosen to put every anchor into structural tread wood, zero anchors into original decorative elements.
- Color-matched rails: Ivory, antique white, black, walnut-tone, or direct match to your banister stain. Adds ~1 week lead time and $300-$600.
- Full photo documentation: Every fastener location gets a before-drill and after-torque photo for your service file and Landmarks Commission.
- Commission/HOA paperwork filed by us: Application goes out from our office under our licensing. If approval is denied, we refund the deposit.
Common install-day questions
No. We stage parts on moving blankets in the lower hall. If a small side table blocks the rail path, we ask you to shift it six inches — we do not move your furniture because we do not want to scratch it. Everything in adjacent rooms stays.
You need to be home for the walk-through at the start (~9:03 AM) and for the training ride at the end (~11:20 AM). In between, you can be in any other room.
Rare, but it happens. The most common find is a loose tread. We either repair on the spot (wood glue and screws) or recommend a carpenter and reschedule. We do not install on a compromised stair. Typical delay: 2-5 days.
Yes. Every tool runs on rechargeable battery packs. We have installed through hurricanes in Florida with no grid power. When power returns, the charger tops off the stairlift batteries automatically.
Yes. Removal and haul-away is included in the new install quote. We credit you if the old unit has resale value (typically $600-$2,000 for a well-maintained Bruno or Handicare under 5 years old). Old fastener holes get filled during cleanup.
Before the first hole is drilled — anything up through the 9:25 AM laser re-measurement — you can cancel with zero cost. After the first bolt, you are covered by the 30-day satisfaction guarantee (full removal, full refund minus a small restocking fee).
The three things that can delay an install
About 96% of installs hit the scheduled date. The 4% that do not fall into three categories:
1. Rail fabrication delay (curved only)
The rail ships late from the factory — usually freight-related, not manufacturing. Typical delay: 3-7 business days. We call you immediately and reschedule.
2. Stair structure issues discovered on install day
A cracked tread, a pulled riser, or soft wood under a prior repair. Delay: 1-3 days for our repair, or 3-7 days if a carpenter visits first. No extra charge for the return trip.
3. Unforeseen electrical
The outlet cannot reliably support the charger — rare, but happens in pre-1950 homes with undersized circuits or GFCI tripping on charger inrush. Fix: new dedicated 15A circuit. Typical delay: 1 day.
What never delays an install: weather, traffic, or a crew running late from a prior job. If the crew runs over at the prior site, we send a different crew.
Post-install — the first 30 days
Day 1 (install night) — battery conditioning
Leave the lift parked at the bottom on the charger overnight. The batteries arrived pre-charged but need a full-depth top-off the first night to set the baseline for the sealed lead-acid cells. Do not run the lift 20 times to show the grandkids — let it charge first.
Days 1-10 — motor break-in
A new motor goes through a mild break-in over the first 20-30 rides. The drive pinion seats more smoothly into the rack gear (reduces any faint ticking), and the motor brushes settle against the commutator (drops noise from ~52 dB to ~49-50 dB). Subtle but real.
Day 14 — first service check-in call
We call you. Not to upsell. A 3-minute call: does it work as expected? Any new sounds? Any questions we did not answer at training? This is when most small questions surface.
Days 1-30 — remote management
Most households assign one remote to the primary rider and one to the caregiver within the first week. Label them. Two small adhesive labels are included in the install packet.
Days 1-30 — warranty registration
We register the manufacturer warranty on your behalf during paperwork. Confirmation email arrives within a week. Keep it — the manufacturer will ask for the serial number and registration date.
Install day do's and don'ts
Don'ts
- Don't hide upstairs "out of the way." Except for 15 minutes of active drilling, you should be in the install room or within earshot.
- Don't test-ride before training is complete. Safety walk-through must happen first.
- Don't wear slippers on the stairs while rail sections are moving. Closed-toe shoes or stay off the stair.
- Don't sign paperwork if anything is unclear. Raise it before the crew leaves.
Frequently asked questions
A straight rail installs in 2-4 hours, door to door. Curved rails take 4-8 hours on install day (after 1-2 weeks of factory fabrication for the custom rail). Outdoor installs add ~30 minutes for weather-sealing. None require a second day. A shorter 8-10 foot rail finishes in about 2 hours; a longer 16+ tread rail takes closer to 4.
The rail bolts into the edge of your stair treads with 4-6 stainless lag bolts. Your wall is never touched — the rail is entirely self-supporting. Your banister stays intact. When the lift is eventually removed, the small bolt holes (5/16 inch) fill with color-matched wood filler and are invisible within hours. We have removed lifts from 1880s homes with the treads indistinguishable from untouched.
In 85-90% of installs, no. The stairlift plugs into a standard 120V household outlet and draws less power than a table lamp. If a new outlet is needed (rare), we identify it at the free assessment and coordinate the electrician before install day — it is never a surprise. Full electrical requirements guide.
Yes. We install in homes on the National Register of Historic Places. Historic installs use a special protocol: pre-install review of tread wood species and millwork, fastener paths that avoid decorative elements, optional color-matched rails ($300-$600), full photo documentation, and we file all Landmarks Commission or HOA paperwork ourselves.
Call us 2-4 weeks before surgery. We measure, quote, and install 1-3 days before your surgery date so you can test-ride while still mobile. When you come home from the hospital, the stairlift is waiting. A straight rail can be installed within 3-5 business days of the assessment in most markets. Hip replacement guide | Knee arthritis guide.
Related guides
Ready to Get Started?
Free in-home assessment within 24 hours. No pressure, no obligation.